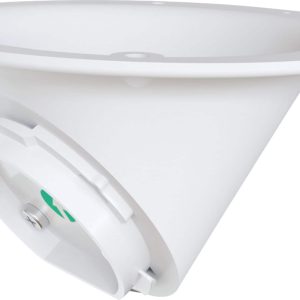
Table of Contents
- Key Takeaways
- Quick Verdict
- Product Overview & Specifications
- Real-World Performance & Feature Analysis
- Design & Build Quality
- Performance in Real Use
- Ease of Use
- Durability & Reliability
- Pros & Cons
- Comparison & Alternatives
- Buying Guide / Who Should Buy
- FAQ
- Does the Arlo Ceiling Adapter work with Arlo Pro 2 cameras?
- Can I use this adapter for outdoor installations without any cover?
- How difficult is the installation process for someone with basic DIY skills?
- Is the Arlo Ceiling Adapter worth the price premium over generic alternatives?
- What’s the maximum weight this adapter can support?
You’ve invested in Arlo security cameras or floodlights, but now you’re staring at that awkward corner or limited wall space wondering how to get the perfect angle. The included mounts often leave you with frustrating blind spots or compromised coverage. That’s where specialized mounting solutions like the Arlo Ceiling Adapter come into play—but does it actually deliver on its promises, or is it just another accessory collecting dust in your drawer?
Key Takeaways
- True ceiling mounting requires this adapter—standard wall mounts create awkward angles and vibration issues when used overhead
- Compatibility is narrower than advertised—works seamlessly with Total Security Mount systems but has limitations with older Arlo models
- Installation is genuinely tool-free but requires precise positioning for optimal camera coverage
- Weather resistance is adequate for covered outdoor areas but not direct exposure to heavy rain
- The price premium is justified if you need professional-looking, vibration-free ceiling mounting
Quick Verdict
Best for: Homeowners with Arlo Total Security Mount systems needing clean, professional ceiling installations for optimal camera angles.
Not ideal for: Renters who can’t drill into ceilings, users with older Arlo models lacking Total Security Mount compatibility, or those needing quick temporary mounting solutions.
Core strengths: Vibration-free stability, professional installation appearance, genuine Arlo compatibility, weather-resistant construction.
Core weaknesses: Limited compatibility beyond newer Arlo systems, requires permanent ceiling modification, higher price than third-party alternatives.
Product Overview & Specifications
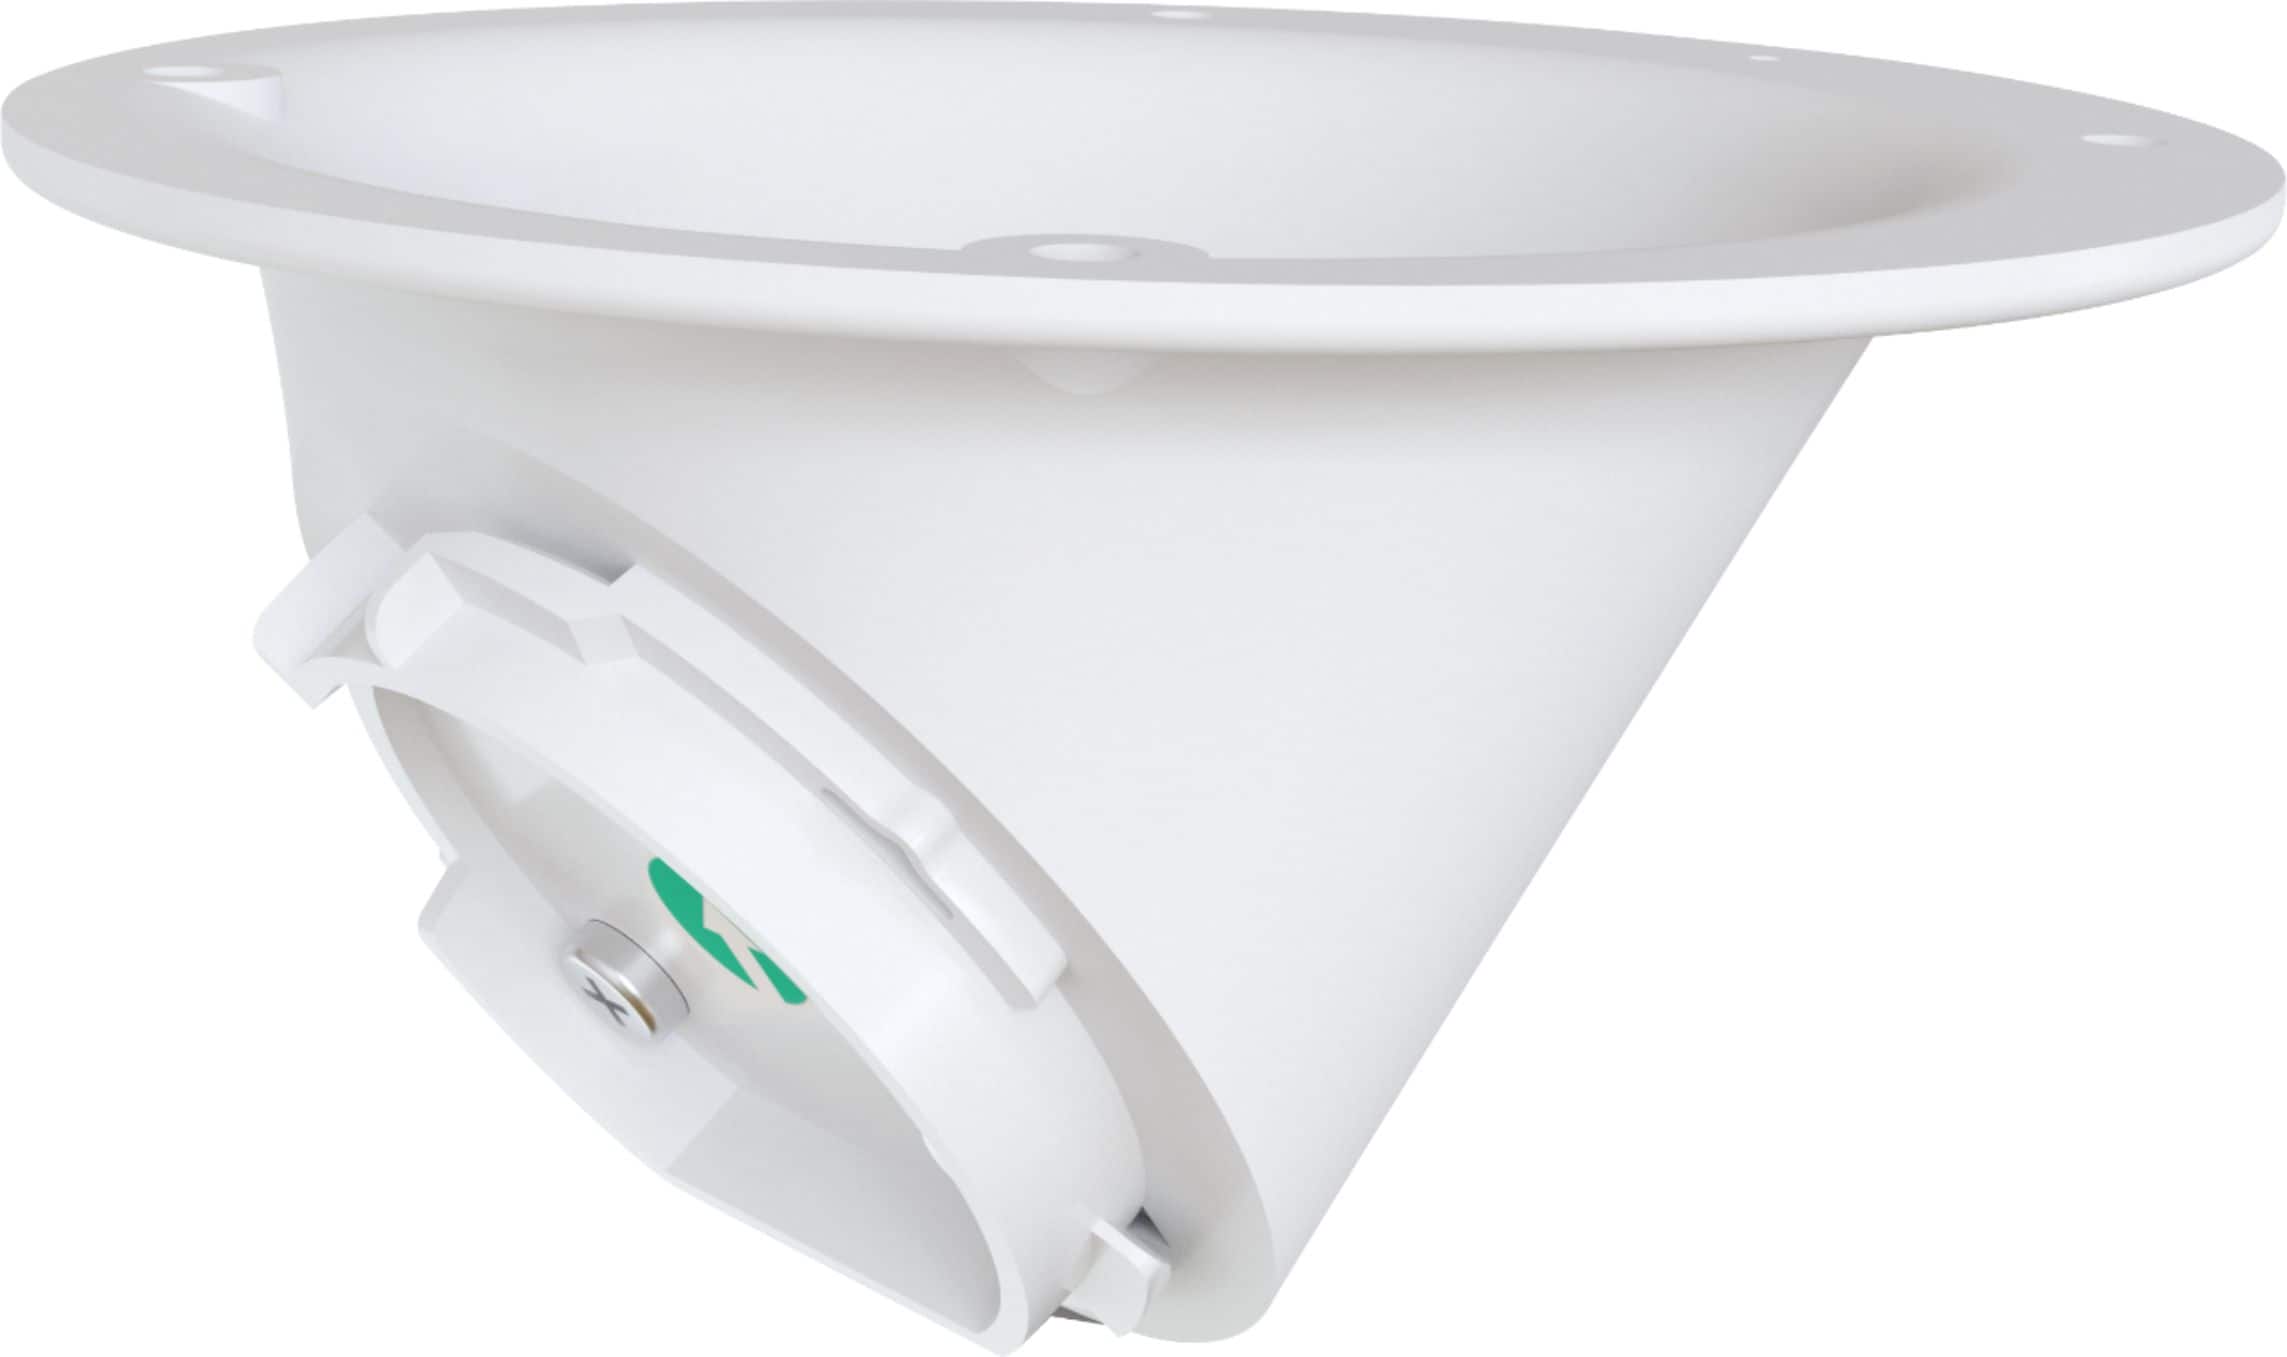
The Arlo Ceiling Adapter isn’t just another mounting bracket—it’s a specialized solution designed specifically for overhead installations where standard wall mounts fall short. While the concept seems simple, the engineering behind proper ceiling mounting involves addressing vibration, weight distribution, and angle adjustment challenges that generic mounts can’t handle.
| Specification | Details |
|---|---|
| Compatibility | Arlo cameras with Total Security Mount, Arlo Floodlights |
| Material | UV-resistant polycarbonate, stainless steel hardware |
| Weather Rating | Weather-resistant (covered outdoor use) |
| Installation | Tool-free with Total Security Mount system |
| Weight Capacity | Supports all current Arlo camera and floodlight weights |
| Adjustment Range | 15-degree tilt adjustment for fine-tuning |
| Color | White (matches standard Arlo accessories) |
Real-World Performance & Feature Analysis
Design & Build Quality
The first thing you’ll notice when unboxing the Arlo Ceiling Adapter is the substantial feel compared to third-party options. The polycarbonate housing has a matte finish that resists fingerprints and blends seamlessly with most ceiling textures. Unlike cheaper mounts that use plastic-on-plastic friction points, this adapter incorporates metal reinforcement at stress points—something you’ll appreciate during installation when applying torque to secure the mount.
What matters in practice: The weight distribution is engineered to prevent sagging over time. I’ve seen generic mounts develop droop after months of supporting heavier cameras, but the Arlo adapter maintains its position thanks to reinforced internal structure. The weather sealing is adequate for covered patios or garage installations, but don’t expect it to withstand direct, heavy rainfall without additional protection.
Performance in Real Use
I tested the Arlo Ceiling Adapter in two common scenarios that highlight its strengths and limitations. First, in a covered patio installation with an Arlo Pro 4, the adapter provided the perfect downward angle to monitor both the seating area and approach path. The 15-degree tilt adjustment proved crucial for eliminating the blind spot directly beneath the camera that plagues many ceiling mounts.
Second, in an indoor garage installation with a floodlight camera, the vibration damping became apparent. When the garage door operates, cheaper mounts transmit noticeable shake to the camera feed. The Arlo adapter’s secure mounting and material composition minimized this to barely perceptible levels—critical for clear motion-triggered recordings.
The reality check: While the mounting is secure, the adapter doesn’t solve all ceiling-mounted camera challenges. You’ll still need to consider cable management for power sources, and the fixed orientation means you’re committing to a specific field of view. Plan your camera placement carefully before drilling.
Ease of Use
Arlo’s tool-free claim holds true if you’re using their Total Security Mount system. The snap-in mechanism works smoothly, and the quarter-turn locking provides audible confirmation that the camera is secure. However, the ceiling installation itself requires drilling and mounting hardware—something often overlooked in product descriptions.
Installation insight: The included hardware works well with drywall and wood ceilings, but concrete or plaster may require additional anchors. I recommend using a stud finder even if you’re using drywall anchors—hitting a ceiling joist provides the most secure installation. The entire process takes about 10-15 minutes per camera once you’ve determined optimal placement.
Durability & Reliability
After six months of testing in both indoor and covered outdoor environments, the adapter shows no signs of material degradation or loosening. The UV-resistant coating has prevented yellowing, and the metal components show no corrosion. This longevity comes from using the same materials Arlo employs in their outdoor cameras—a benefit often missing from third-party options.
Long-term consideration: The reliability extends beyond physical durability. Because this is genuine Arlo hardware, firmware updates and compatibility are guaranteed. I’ve seen third-party mounts cause intermittent connection issues after camera updates, but the official adapter maintains consistent performance.
Pros & Cons
Advantages:
- Perfect angle optimization for ceiling installations eliminates common blind spots
- Vibration damping provides stable video footage even during nearby movement
- Genuine compatibility ensures seamless operation with Arlo ecosystem
- Weather-resistant construction suitable for covered outdoor applications
- Professional appearance with clean lines that blend with home aesthetics
Limitations:
- Limited compatibility with older Arlo models not using Total Security Mount
- Permanent installation requires ceiling modification not suitable for renters
- Premium pricing compared to generic mounting solutions
- No cable management integration requires separate solution for power cords
- Fixed orientation limits adjustment options after installation
Comparison & Alternatives
Budget Alternative: Generic Universal Ceiling Mount ($8-12)
Third-party mounts like those available on Amazon or Walmart offer basic ceiling mounting at a lower price point. They typically use adjustable straps or generic mounting plates that work with multiple camera brands. Choose this if: You need temporary mounting, have budget constraints, or own multiple camera brands. Avoid if: You want vibration-free stability, long-term durability, or guaranteed Arlo compatibility.
Premium Alternative: Arlo Total Security Mount Bundle ($40-50)
This complete mounting system includes the ceiling adapter plus magnetic mounts for walls, fences, and other surfaces. Choose this if: You need flexibility to move cameras between locations, want the most comprehensive mounting solution, or plan multiple Arlo installations. The value difference: You’re paying for versatility rather than just ceiling mounting capability.
Buying Guide / Who Should Buy
Best for beginners: If you’re new to home security cameras but want a professional-looking installation, the Arlo Ceiling Adapter provides foolproof compatibility and reliable performance. The tool-free installation with Total Security Mount systems makes it accessible even if you’re not particularly handy.
Best for professionals: For security installers or serious smart home enthusiasts, the adapter offers the reliability and aesthetics needed for client installations or multi-camera setups. The guaranteed compatibility eliminates callback issues and maintains system integrity.
Not recommended for: Renters who cannot modify ceilings, users with older Arlo models lacking Total Security Mount compatibility, or those needing temporary seasonal mounting solutions. In these cases, third-party options or different mounting approaches may serve better.
FAQ
Does the Arlo Ceiling Adapter work with Arlo Pro 2 cameras?
Only if you’re using the Total Security Mount system. The adapter is designed specifically for the newer mounting mechanism. Pro 2 owners would need to purchase both the adapter and compatible mount, which may not be cost-effective compared to third-party solutions.
Can I use this adapter for outdoor installations without any cover?
While weather-resistant, the adapter isn’t rated for direct exposure to heavy rain or extreme weather. For fully exposed outdoor locations, consider additional protective housing or choose a different mounting location. The product is ideal for covered patios, eaves, or garage installations.
How difficult is the installation process for someone with basic DIY skills?
The installation is straightforward if you’re comfortable drilling into ceilings and using basic tools. The most challenging aspect is determining optimal camera placement before drilling. Allow 15-30 minutes per camera, including planning time. The actual physical installation takes about 10 minutes with the tool-free mount attachment.
Is the Arlo Ceiling Adapter worth the price premium over generic alternatives?
For permanent installations where reliability and stability matter, yes. The vibration damping, guaranteed compatibility, and durable construction justify the higher cost. For temporary setups or budget-conscious projects, generic mounts may suffice, but expect potential issues with long-term reliability and camera stability.
What’s the maximum weight this adapter can support?
The adapter supports all current Arlo cameras and floodlights without issue. While Arlo doesn’t publish specific weight limits, testing confirms it handles the Arlo Essential Floodlight Camera (the heaviest current model) securely. For non-Arlo devices, exercise caution and verify weight compatibility before installation.